Applicable hosting plans
Your Rochen Growth, Pro, or 2020 Reseller plan allows you to create individual cPanel accounts (sub-accounts) for your websites. You do this in WHM, but we also provide a convenient method in the My Rochen portal, which we outline below.
Recommended reading before you add a website
Before starting, please read our article about Adding a Package via My Rochen to help assign a package to each new cPanel account you create.
Getting Started
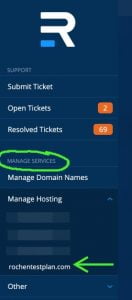
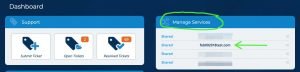
Locate your hosting plan in the Manage Services section of your account. It is accessible via the left-side navigation as well as the main dashboard, as illustrated below:
| Side Navigation | Main Dashboard |
 |
 |
Add a website
- Click on the Create Account button in the top right corner of your main account panel:
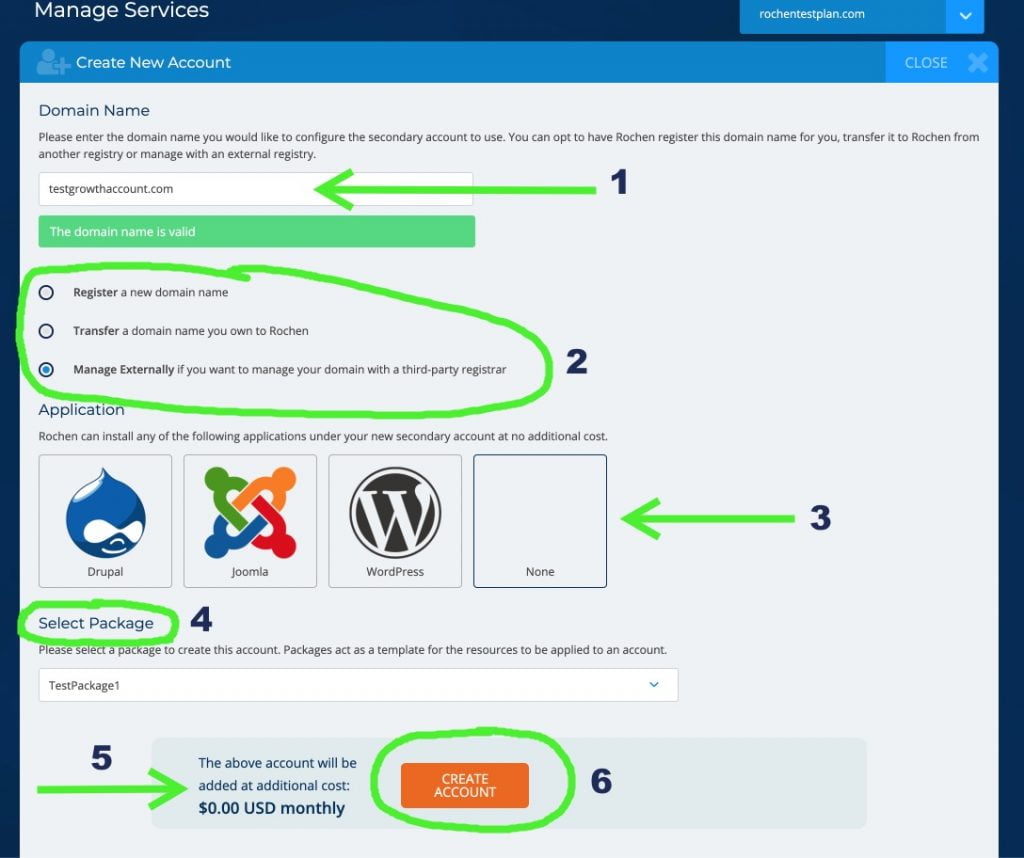
- Enter the domain name of the website for the new account.
- Select a domain name registration option. We offer domain name registration and transfer for an annual fee, but you can also opt to maintain your domain name externally.
- Select one of the popular CMSs to install automatically, or choose none.
- *note: if you’re migrating an existing website, choose the none option.
- Select your package from the dropdown.
- Double-check that recurring fees are as expected. There should be no recurring fee if you did not select register or transfer for the domain name.
- Click on the Create Account button.
- When your account is created, a success message and the login credentials appear on the next screen. Safely copy and store your credentials.
- That’s it! You have created a cPanel account to host a new website on your Rochen hosting plan.
