We do free website migrations. You can also migrate websites yourself. This article outlines how you can do a remote import with Softaculous via cPanel.
Finding Softaculous
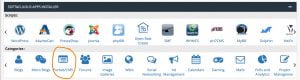
Log in to cPanel and go to the Softaculous section. Select any application.
Beginning the Remote Import with Softaculous Process
For this example, we will import a WordPress script from another server.
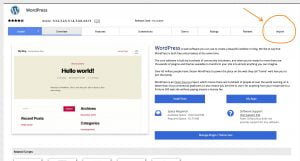
Click on the Import Tab on the Software page in the Softaculous panel, as shown below.
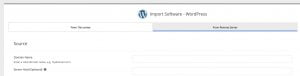
Choose the From Remote Server tab on the Import page.
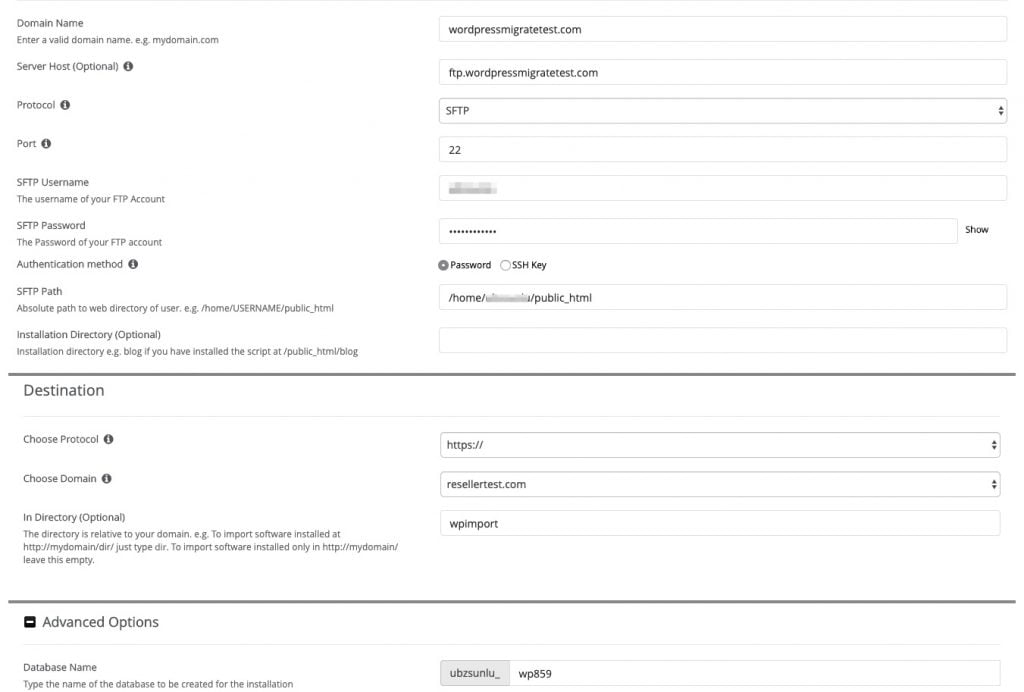
Fill in the domain and FTP details of the Source Installation, including the protocol, domain name, directory, and database name for the Destination Installation and click on the Import button.
Field Details Explained
- Domain Name: The domain name of the installation you are importing in. Do not include HTTP:// or HTTPS:// or www., etc. The domain should be, e.g., yourdomain.com
- Server Host: You can specify the server host if your domain name is not the same as your server host. An example is ftp.mydomain.com. You can usually leave this field blank because the server host will be the same as the domain name. If you aren’t sure, please open a ticket to ask.
- Protocol: Choose your preferred protocol. We will use FTP for this example, but we recommend exploring more secure options such as SSH.
- Port: The port used during the connection to the domain on the other server. The default port for FTP is port 21, and for SSH it’s 22.
- Username: The username you use to connect to your server. Because your Rochen account uses cPanel, enter your cPanel username.
- Password: This is the password for the user you provided above to connect to your server. You can find your password via your My Rochen customer account.
- Path: The relative path to your domain on the other server. Here are some examples:
- When you log in with your FTP details, if you see public_html or htdocs or www directory, your FTP Path will be /public_html or /htdocs or /www.
- When you log in with your FTP details, if you directly land in the webroot of your domain, then your FTP Path will be /
- If you use an addon domain or subdomain, then provide the path.
- Installation Directory: The directory name indicates where the imported installation will be on its current server. Keep this blank if the installation is in /public_html.
Destination Details
- Choose Protocol: Select the protocol (supported by your server) where the installation will be imported.
- Choose Domain: The domain name of the installation that will be imported. Example: destinationdomain.com
- In Directory (optional): The name of the directory where the installation will be imported. Example: dev. Keep this field blank if you want your installation to be imported to your root /public_html directory.
Advanced Import with Softaculous Options
- Database Name: The name of the database that you want the source installation to be imported to. By default, Softaculous will choose a random name. You can update the randomized name before proceeding.
Finalizing the Import with Softaculous
Now that you have filled out all of the fields, and have selected your preferred options, you can begin your import. Click on the blue Import button.

Waiting for the Import to Complete
If there are any errors in the field details or selected options, the remote import with Softaculous will fail. Then you will see an error on your screen describing the issue:

Correct any errors, and then try again.
If you are unable to resolve the errors open a technical support ticket so we can assist.
If there are no errors, the Import Process will continue in the background. Automated emails will be sent to notify you of the progress.
The status of your import will be visible when you click on the Task List icon in the Softaculous top menu bar:

You can begin using and managing the imported site once the progress bar has reached 100% complete, and you see the message, Import Completed.